math

Our Montessori Bookshelf: Mathematical Thinking

The Man Who Counted

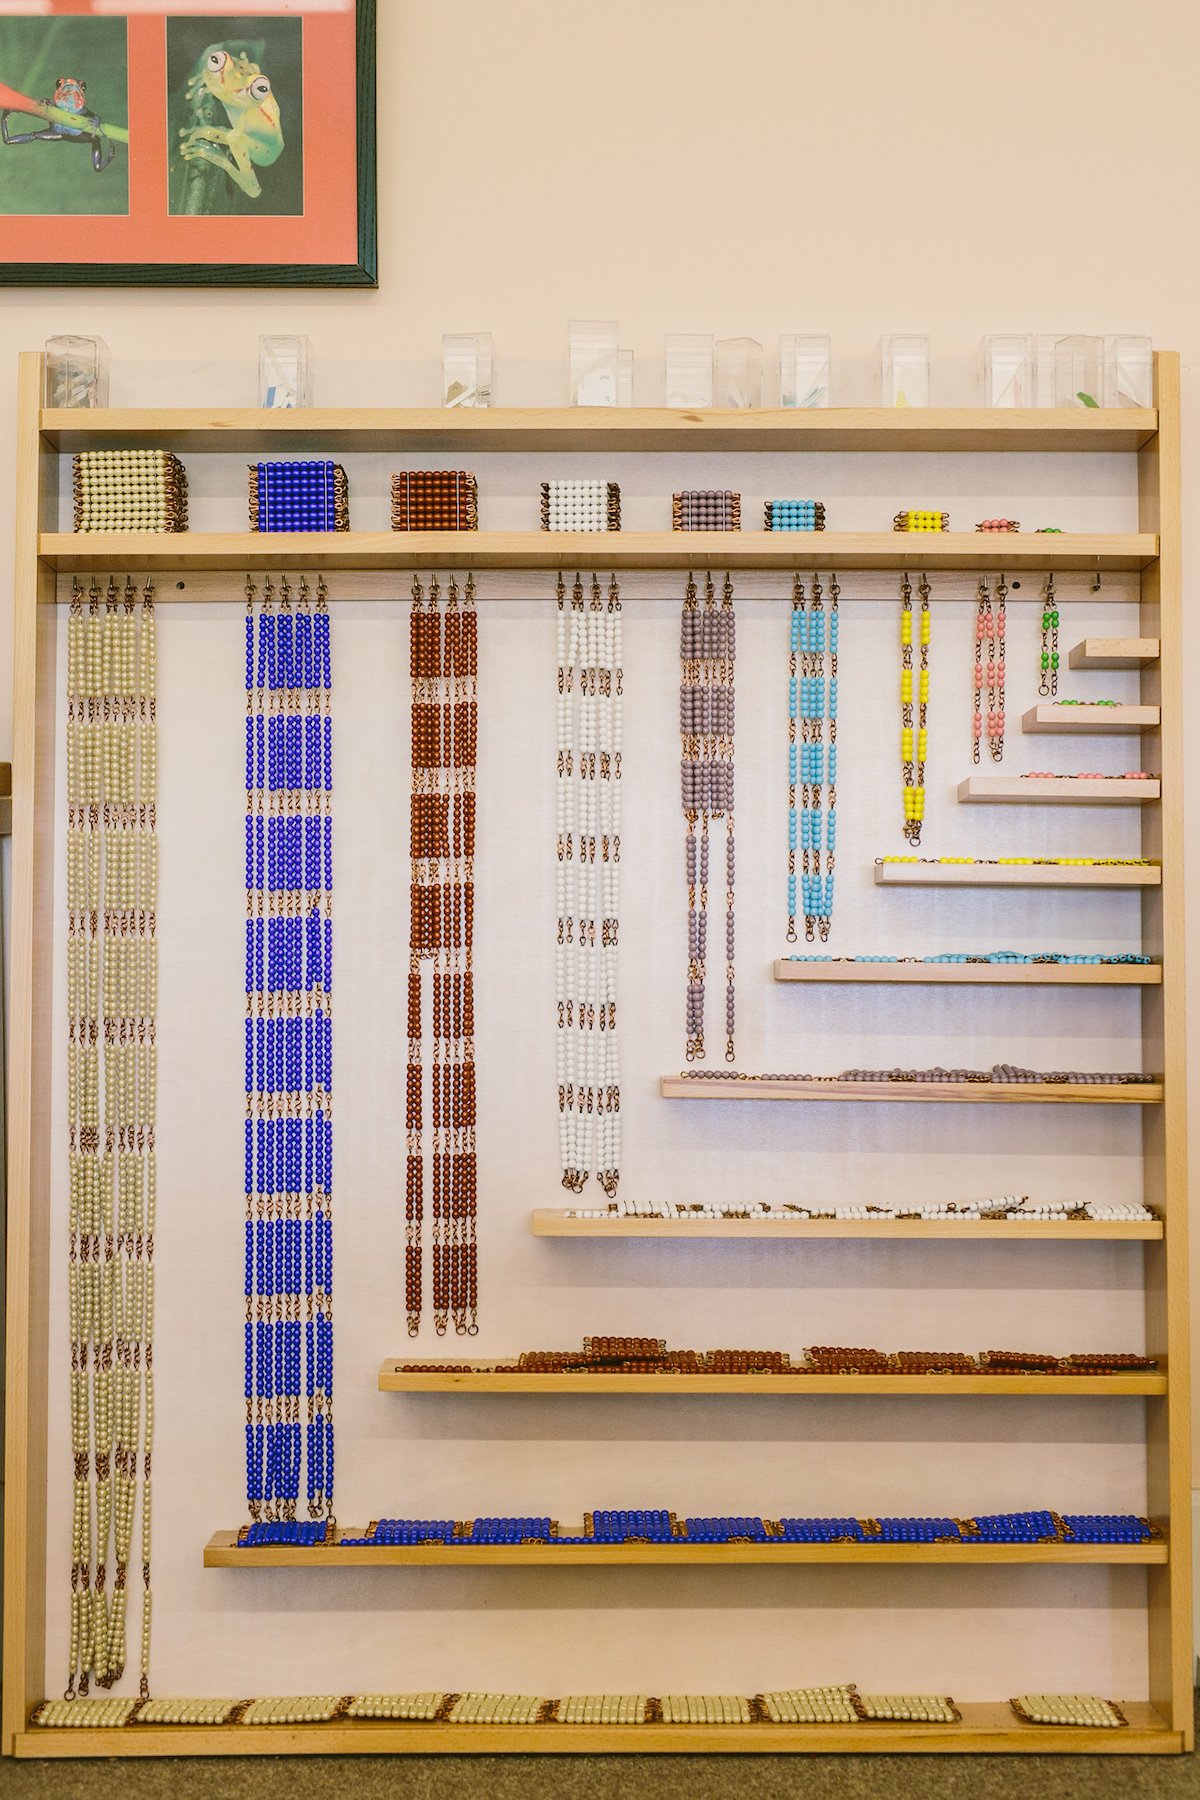
As humans, we are predisposed toward order, exactness, and precision. With this tendency to abstract and imagine, we could be said to have a mathematical mind. Children, young and old alike, are drawn to numbers and mathematical ideas. 

For thousands of years, math has been a part of the human search for meaning. We have long tried to quantify our natural world. From carbon dating artifacts to analyzing voting trends in politics, from understanding traffic patterns to examining climate change, math continues to be an integral part of our search for understanding.

Learning to think in mathematical terms is an essential part of becoming a person adapted to our time and place. Math is such an integral part of our lives and we feel that it’s vital to ensure our children are not only in touch with mathematics but also captured by the beauty and wonder of math in our world. 

With this in mind, we pulled some of our favorite books that promote mathematical thinking for young children through early adolescence. 

Counting Is for the Birds

by Frank Mazzola Jr.

Written in rhyme, this picture book can be used in different ways with young children. Some may just enjoy the story and illustrations, others can clue into the counting aspect of the book, and older children might explore the ornithological details provided on each page. This is the kind of book that you can revisit again and again with your children!

4,962,571

by Trevor Eissler, Ruth Chung, Bobby George, June George

Written by a former Montessori parent, this picture book is a lovely introduction to and extension of the concept of place value. A young boy wants to see how high he can count, so he figures out ways to create groups of numbers so he can count to four million, nine hundred sixty-two thousand, five hundred seventy-one (and beyond!). Plus, anyone who has been in Montessori will appreciate the color coding of the numbers in the title!

How Much, How Many, How Far, How Heavy, How Long, How Tall Is 1000?

by Helen Nolan, illustrated by Tracy Walker 

Children at the end of their primary years or those who have recently transitioned into elementary will definitely appreciate this exploration of the quantity of 1,000. Full of thought-provoking questions, this picture book takes readers on a journey through how a 1,000 can be represented in so many different ways – and how that can change our impression of the size of the number. 

One Grain of Rice: A Mathematical Folktale

by Demi

This stunningly illustrated picture book provides both a moral tale and an example of the exponential power of multiplying by two. After a raja in India has hoarded rice for his own benefit, a young girl returns some spilled rice to him and as a reward requests only one grain of rice, as long as the raja doubles what he gave her the day before over the course of 30 days. By the end, she has more than enough rice to share with all the starving villagers, as well as the goodwill to support the raja in continued kindness.  

Anno's Mysterious Multiplying Jar

by Masaichiro Anno, Mitsumasa Anno

For those who love Anno’s Journey, this is a must-read, but this time the illustrations and text take the reader on a mathematical journey through factorials. Then to show what happened mathematically, the Annos (father and son) illustrate the multiplication in a graphic way that fits so well with what children experience with the Montessori math materials. 

Mathematicians Are People, Too: Stories from the Lives of Great Mathematicians, Volumes 1 & 2

by Luetta Reimer, Wilbert Reimer

This collection of short stories dramatizes conversations and lives of mathematicians throughout history and can easily capture the imagination of elementary-aged children who love the power of a good story. The stories can stand alone or be jumping-off points for further mathematical or historical investigations. We love the glossary at the end, the short biography at the start of every story, and the fact that female mathematicians are fairly well represented in these two volumes. 

The Number Devil: A Mathematical Adventure

by Hans Magnus Enzensberger, illustrated by Rotraut Susanne Berner, translated by Michael Henry Heim  

This is the perfect book for older elementary-aged children who aren’t quite sure they want to still love math. A boy meets a number devil in his dreams who leads an exploration of all sorts of fascinating aspects of numbers. The wildly fun and irreverent approach (led by the devil) makes even complicated math feel accessible. The whimsical illustrations certainly help, too! And for those wanting to go back and reference helpful information, there is a “Seek-and-Ye-Shall-Find List” (aka index) at the end of the book. 

Doodle Yourself Smart . . . Math

by Helen Greaves, Simon Greaves

For elementary children and adolescents who like to play around with mathematical thinking, this is a fun activity-style book that appeals to mathematicians and artists alike. Each page offers beautiful space for playing around with the problems (and yes, there are answers in the back for those who just need to know if they got it right!).

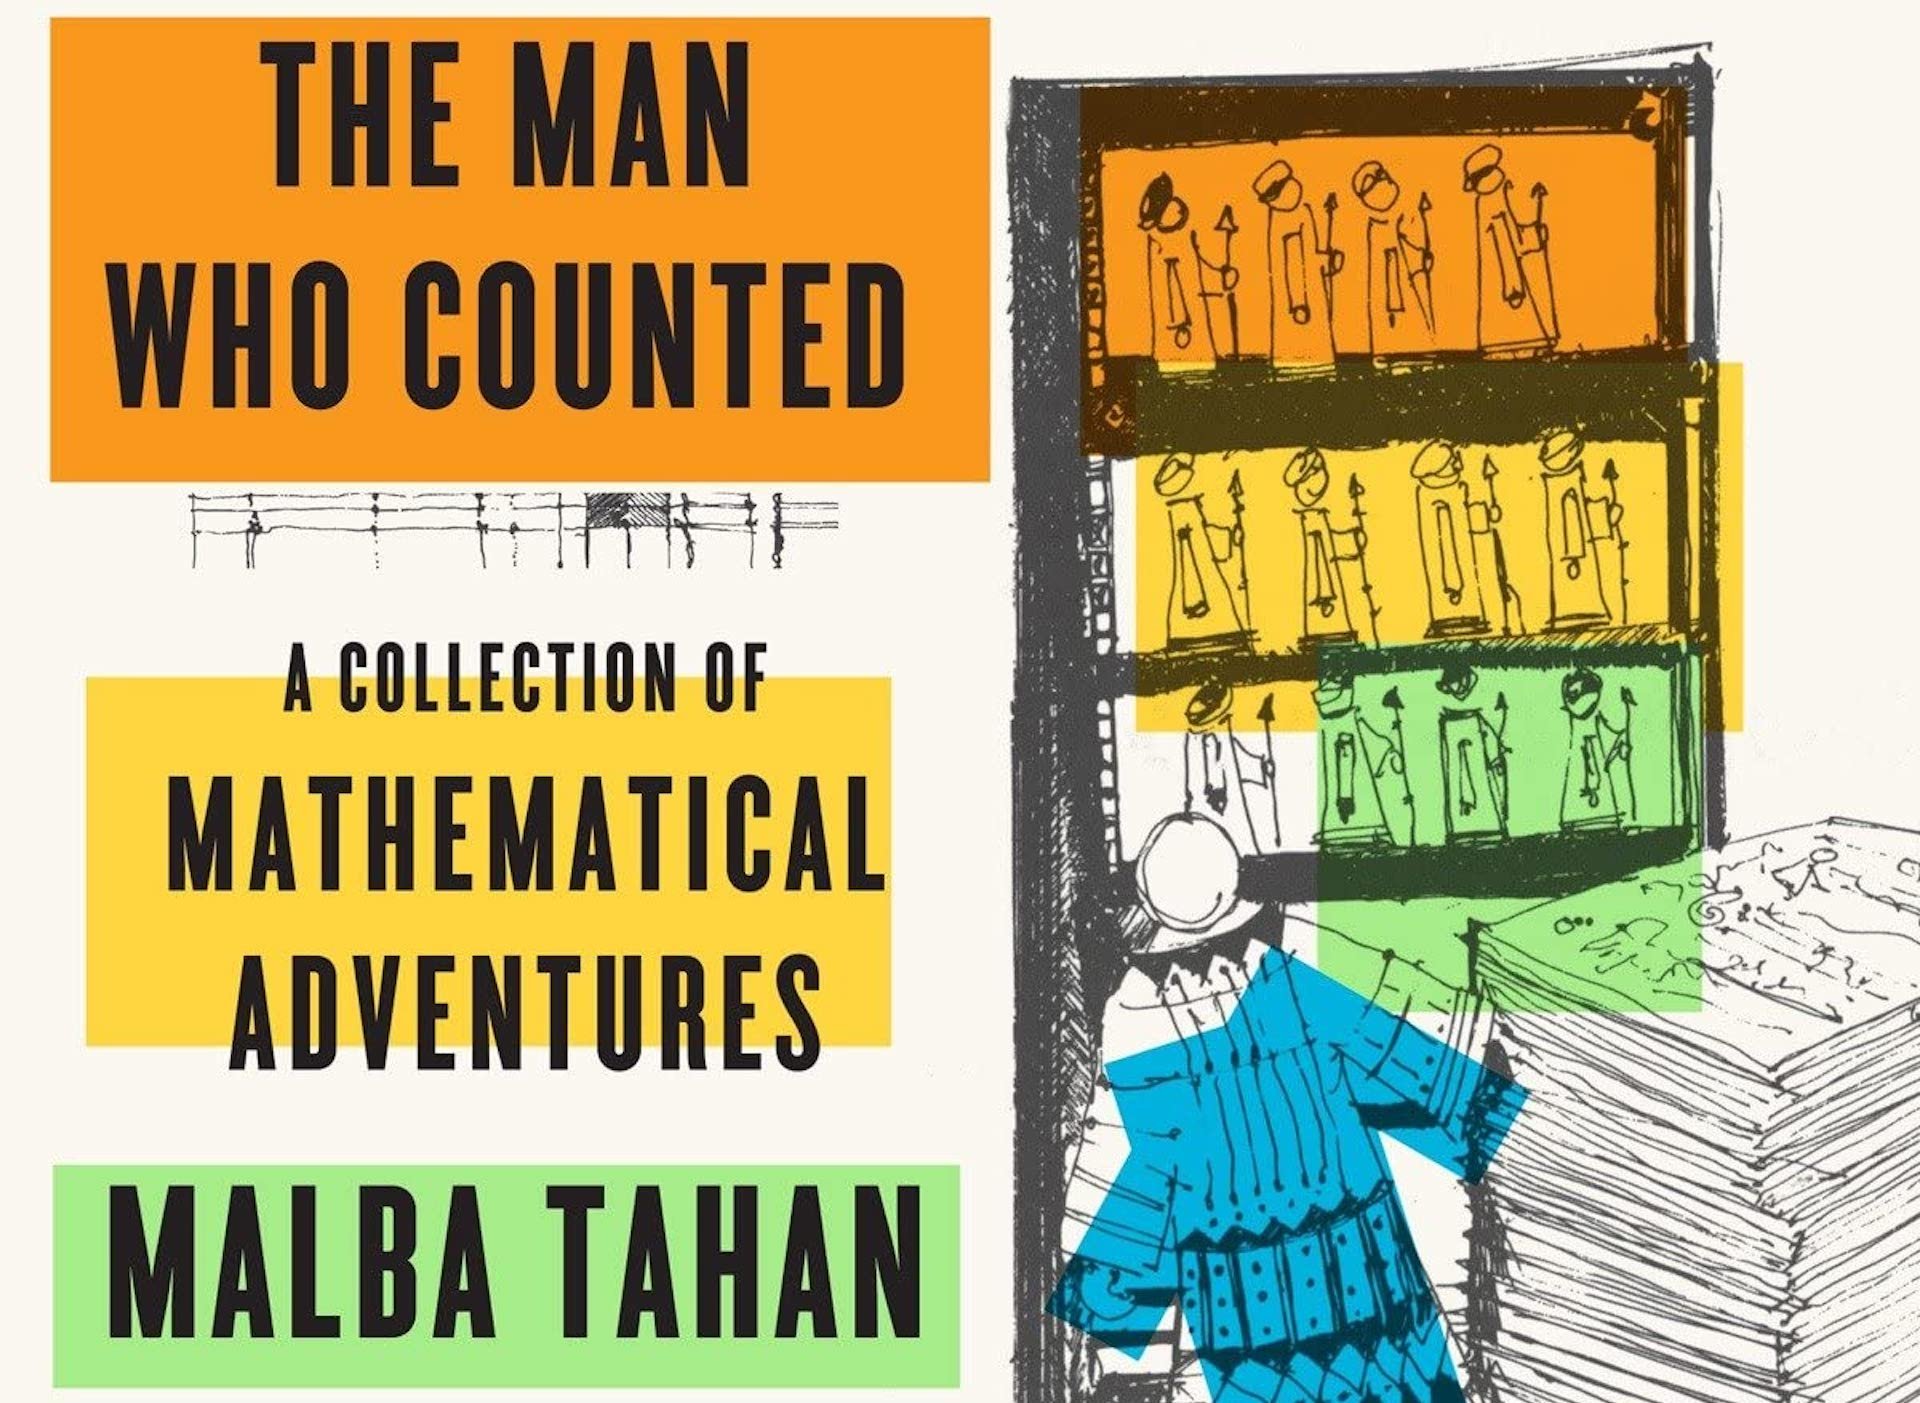
The Man Who Counted: A Collection of Mathematical Adventures

by Malba Tahan

Those who like a good mathematical challenge, combined with a taste of the adventure that comes with travel, will love this series of chapters that form a bit of a novel. Each chapter of this book can stand alone or work as a cohesive whole as the narrator and the “man who counted” move through the Middle East. They encounter a slew of social problems that are solved with a sophisticated level of number sense that feels both mystical and matter-of-fact. 

Click here for a downloadable PDF of this booklist! As always you are also welcome to come visit the school and see how we support mathematical thinking for all ages.

Materials Spotlight: The Bead Chain Cabinet

Montessori bead cabinet

Visit any primary or elementary Montessori classroom and you’ll immediately notice a stunning display of colorful glass beads hanging in an open cabinet. Children (and adults!) are drawn to the order and elegance of the bead chains. Beyond their initial aesthetic appeal, the bead chain material offers an amazing array of intellectual opportunities for young children to those in their elementary years. 

Color-coding

One of the brilliant aspects of the Montessori math materials is how they provide children with multiple ways to make neural connections. For example, each of the bead bars represents a quantity and each bead bar is also color-coded so that the quantity is connected to a color: a bar with two green beads represents two, a bar with five light blue beads represents five, a bar with eight brown beads represents eight, etc. This color coding allows the child’s brain to establish multiple quick ways to understand the quantity: the number of beads, the color, and the size. 

Appealing

In Children’s House, young children are attracted to the beauty and fragility of these colorful, glass beads. Long before they are ready to use the bead chains, young children can learn how to dust and care for the beads. They develop a respect for the materials and understand how special they are. Often young children will watch in awe as their older classmates learn how to carry, lay out, count, and label the bead chains. 

Linear & Skip Counting

As they practice counting the bead chains, four- and five-year-olds solidify their understanding of teen numbers, as well as quantities from units, to tens, to hundreds, to thousands. Eventually the focus of work with the bead chains shifts from linear counting to skip counting, as children begin to focus more on the labels that indicate the end of each bead bar. For example, on the 100 chain, children label and name 10, 20, 30, 40, 50, 60, etc. Children can also layout, count, and compare the 100 chain and 1,000 chain side-by-side, providing the sensorial experience of the different quantities laid out in a linear fashion. 

Multiplying

As children move into their elementary years, they are solidifying their skip counting in relation to mastery of multiplication. They love to quiz each other by turning over some of the labels to see if their friends can figure out which of the multiples is missing. So for the short chain of multiples of seven, for example, they might turn over one label to see if their friend can figure out the missing multiple: 7, 14, 21, __, 35, 42, 49. 

The bead chains are also used to provide an impression of common multiples, which is critical for future work with fractions. Children lay out two long chains side by side, label the chains, and then find all the common multiples, and also begin to intuit the concept of the lowest common multiple.

Squaring & Cubing

The other fascinating aspect of the bead chains is how they geometrically represent the concept of squaring and cubing. Children learn how to fold up the bead chain so that it creates a square made up of four rows of four: 4 x 4 = 16. 

This work can continue with the long chains, each of which creates the cube of numbers one through ten.

In addition to the hanging chains of bead bars, the bead chain cabinet also contains beautiful squares of each number, which can be stacked to create cubes, as well as the actual cubes for each number. The squares and cubes can be used for explorations with powers of numbers as well as more advanced work when students start to explore working outside of the base ten number system. 

As children move into more advanced mathematics, they will often briefly revisit this foundational material to cue their memory when working with exponents.

Spiral Curriculum

The bead chain materials provide a perfect example of the spiral nature of the Montessori curriculum. From early linear counting, cycling into an understanding of multiples, to preparation for squaring, cubing, and base number work, children come back again and again to the beauty and breadth of the bead chains.

We invite you to visit our school to see the bead chains for yourself! 

Materials Highlight: Geometry From the Start

When many of us think of our geometry education, we have thoughts of identifying shapes in kindergarten, and then taking a class or two in high school.

The truth is, children are fully capable, and enthusiastically prepared, to learn so much more at a much younger age. While we can’t possibly cover our entire curriculum in one short article, we’ll share some of the highlights. It begins (perhaps unsurprisingly) in our primary classrooms.

Geometric Solids

Pictured above, the geometric solids are our students’ first direct exposure to geometry. The solids are displayed on a shelf and are contained by a basket or tray. The adult invites the child to a lesson and asks them to retrieve the shapes. They then look at each one. The lesson may go something like this:

  1. The guide picks up the cube, feels each side, and hands it to the child. The guide states, “This is a cube.” The cube is placed on the work rug.

  2. The process is repeated for each solid in the basket.

  3. Depending upon the child’s readiness, they may continue, with the guide asking questions like, “Where is the cylinder?”

  4. After the child has had some time to interact with the material independently for a while, the guide will again sit with them and assess their understanding. This is done by holding one sold at a time and asking the child to name it.          

There are many fun extensions associated with this material. One favorite includes putting the solids on a mystery bag or using a blindfold so the child has to guess and identify by touch alone.

Geometry Cabinet

The geometry cabinet is used in primary and lower elementary classrooms, although differently in each. What begins as a lesson in identifying basic shapes and discerning between their sizes evolves into complex identification and blending of skills. Some of the skills this material helps us teach our students aged 6-9 include:

  • Types of triangles (acute scalene, acute isosceles, right scalene, right isosceles, obtuse scalene, and obtuse isosceles)

  • Quadrilaterals (trapezoids, a rhombus, and a parallelogram)

  • Regular polygons (pentagon, hexagon, heptagon, octagon, nonagon, and decagon)

  • Curved figures (curvilinear triangle, oval, ellipse, quatrefoil)

  • Rectangles

  • Circles

Constructive Triangles

Beginning during the primary years and continuing through lower elementary, the constructive triangle boxes are another child favorite. A series of boxes teaches a variety of concepts.

  1. Triangle box: Used to show how different types of triangles can be combined to make other triangles, also indirectly teaches fractions concepts

  2. Large hexagon box: Used to show how triangles can be combined to create other figures, including a hexagon, rhombus, and parallelogram

  3. Small hexagon box: A continuation of the same basic concept as the previous box, but this time triangles are used to create rhombi, a trapezoid, and another configuration of a hexagon

  4. Rectangle box: Triangles are used to create a square, rectangle, and other quadrilaterals

  5. Blue triangles boxes: While the previous boxes utilized different colors for different types of triangles, they are all painted blue here. This is basically an extension of previous work and allows children an opportunity to rely less on previously helpful visual clues. There is also lots of opportunity to use the blue triangles to create more complex geometric figures.

Classified Nomenclature

Once some of the more basic skills have been mastered by the child, sometime during early lower elementary, they move on to engage with the classified nomenclature. As with all other Montessori work, this is a step toward abstraction; they are no longer relying heavily on the wooden materials they can hold and manipulate, rather they are using drawings, booklets, charts, and labels.

This work can become rather in-depth and continues into upper elementary. A very broad overview of skills includes:

  • Fundamental concepts (point, line, surface, solid)

  • The study of lines

  • The study of angles

  • Plane figures

  • Study of the triangle

  • Study of quadrilaterals

  • Study of regular polygons

  • Study of the circle

These studies are not short lessons like the child has experienced previously. They are multi-layered and can take months to complete. For example, the study of angles may begin during the second year of lower elementary, but continue periodically through the years until the child reaches sixth grade. Concepts include:

  • Parts of an angle

  • Types of angles

  • The measurement of angles

  • Constructing angles

  • Relationships between two angles

  • Two lines and a transversal

  • Constructing and copying an angle

  • Bisecting an angle

  • Operations with angles

Beyond all these amazing materials, it’s important to note that there is a lot of crossover when it comes to Montessori subjects. One perfect example is a favorite grammar work of third graders called the Detective Triangle Game. While its main intention is to practice using correct adjectives, this is done by way of sorting a multitude of triangles, with different colors, types, and angles.

Want to learn more? Please reach out if you have any specific questions and want to have a conversation. As always, we believe the best way to truly understand what goes on in a Montessori classroom is to sit quietly and observe in one. Contact us today to schedule a visit.

Materials Highlight: Memorizing Addition Facts

Ahh, memorizing one’s addition facts. Brings back great memories, doesn’t it? For some of us this was a boring and necessary part of our education, but for others it was downright dreadful.

It’s rare to find any sort of information required to be memorized in a Montessori school. We would much rather teach our students why various things are, then have them learn rote processes that mean nothing to them.

Math facts, however, are the exception to this rule...sort of.

We absolutely work with our students to ensure they memorize all their basic facts, we just do it a bit differently. It’s not your typical flashcards-and-timed-drills approach, but a series of strategies that appeals to the child while still reaching the ultimate academic goal.

Memorizing facts is essential to solid numeric understanding and as preparation for efficiently completing more complicated problems later on. As you might imagine, we start this process when children are young, and we use specialized materials to help them feel and envision what the numbers are doing.

Addition Strip Board

Pictured above, this is the first material intended to be used while teaching children to memorize their addition facts. It includes a wooden, gridded board with numbers across the top. Numbers one through ten are written in red, followed by a red vertical line drawn down the board, and numbers eleven through eighteen written in blue. The material also includes a box filled with wooden blue and red strips in varying sizes to be used on the board.

There are many ways to use this board, and a Montessori guide will gradually walk the child through a series of lessons to teach different skills. The basic concept involves the child laying out one wooden strip on the board, then laying another beside it. This allows them to clearly see something like 7+3=10. The strip board is also used in conjunction with the tables of addition (more on those below).

Addition strip board lessons may include:

  • A first exercise introducing the child to the material and the basics of using it.

  • Random selection and adding of numbers from a box.

  • Combinations of a number (e.g. ways to make ten)

  • Combinations with zero

  • Doubling numbers

The addition may be introduced during the kindergarten year, but is used during the first year of lower elementary as well, or longer if a child needs it.

The Tables of Addition

At first used alongside the addition strip board and later used on their own, the tables of addition are another material that aids children on their path to memorization. The material actually includes four square working charts (one of them pictured above), two larger rectangular control charts, and a box of numbered tiles. To decode, the child will complete the work using one of the square charts and use the control chart to check their answers.

The first table of addition is what you might imagine having used on paper when you were a child. Numbers one through ten go across the top and also down the left side. Answers fill in the grid across the rest of the board, so that if you slide your finger down from the seven on top and right from the three on the left, you will arrive at the answer - ten - in the middle. Children can use this as a way to check their answers, too, as they use the addition strip board.

The second table (above) is essentially the same but with the center numbers left blank. Children can use this as they use the strip board, creating the problem on the strip board and then filling it in on the working chart, or they can use the working chart on its own, attempting to fill in all the blank spaces with the correct tiles.

The third table shows all possible combinations. This means there is significant blank space and children get an introduction to the commutative property. This particular visual will help the child see more patterns within the number facts than they may have in the past.

The fourth table is missing even more numbers, featuring each sum only once. The child is at this point required to complete even more independently, but as always, can rely on a control chart to check their answers if need be. These control charts are often nearby but flipped upside down by the child to self-encourage and figure out the answers on their own whenever possible.

The (Positive) Snake Game

There are actually multiple snake games used in the Montessori math curriculum, yet this is the first. It is used after children have had sufficient time to use the other addition memorization materials and have begun to memorize some of the facts. A major aim of this snake game is to revisit the concepts of making ten and exchanging for ten.

The material consists of three wooden boxes. One contains golden ten bead bars, another contains various colored bead bars for numbers one through nine, and the third contains black and white bead bars that will be used as place holders.

The child may lay out bead bars randomly, or they may follow along with cards given by the guide to complete a problem such as 4+2+8+1+7+9=. The colorful bead bars will be laid out in a zigzag formation, taking on a snake-like appearance. The child will start at one end and count beads until they get to ten, then, using the golden ten bars and black and white place holders to take the place of the colored bead bars. This continues until the snake has been all counted up, and the child can count by tens and the remainder to find the answer.

The educator in this video gives a clear demonstration of the process. You may notice him placing the used colored beads in a small glass bowl. Sometimes children will take these out afterward and count them up to check their answer.

Hopefully you have learned something new and interesting from this article. Want to see the materials in person? Reach out today! We would love to chat more.

Materials Highlight: The Fraction Insets

Montessori Fraction Insets

For this month’s Materials Highlight we bring you the fraction insets; a beautiful set of metal templates resting on slanted wooden trays. As you can see in the photo above, the insets range from one whole through tenths, and each piece has a small knob allowing children to move them easily.

But before we get to the insets, perhaps we should back up just a bit.

Prior to an introduction to fractions, the child has had extensive instruction and experiences with numeration being based on the unit. One unit (or one, one whole, etc.) has been the basis by which they have learned to count, skip count, add, and subtract. As the child enters lower elementary, they are ready to learn who we may divide a unit.

This work often starts with an apple. The Montessori guide sits the children in a small group and tells them the apple will be divided for them to share. They then proceed to cut the apple without any regard to straight or even lines, creating small chunks and larger ones. The children quickly realize the injustice in distributing such apple slices, so the guide takes out a second apple to cut it evenly and impart the importance of equal slices being fair. The stage is set for learning about fractions.

An Introduction

It’s important to note that while the most commonly used and popular fraction insets are circular, there are also triangular and square fraction insets. It’s important for guides to refer to this at times so the children have an understanding that anything may be divided, not just circles.

The first time children use the insets they are encouraged to observe what they notice, and they develop the concept that each inset is a family of sorts. “These are the thirds, these are the sixths, etc.”

The guide will make a point to use intentional language to create a firm basis in understanding: “This circle is divided into four equal parts. We call them fourths.” The guide will write out “fourths” as well as “/4” as children are able to verbally express their understanding.

The Numerator

During the course of this lesson, the guide doesn’t actually use the term numerator just yet. What is emphasized is that while the children previously learned the family names of each inset, the focus will now shift to individual pieces. Examples will be shown using the material, and both verbal and written expressions will accompany each.

For example: “This is one third, or ⅓.” “This is four fifths, or ⅘.” This may be the end of the lesson, or, if the children seem to grasp the concept quickly and easily, it may be combined with the third presentation.

The Third Presentation

The third presentation is essentially a culminating review of what has been covered so far. The children may take turns matching labels with fractions to show their understanding. The critical piece is that the guide will now formally name the numerator and denominator

There is a lot of opportunity for practice and extension work at this point. Children may trace and label fractions, make booklets or charts, work together to match labels, and so on. This work typically happens during the first year of lower elementary.

Equivalence

This is an exciting lesson for children. Once they have a firm grasp on naming fractions, the guide will again sit them down in a small group. The one whole circle will be removed from its frame and the two halves will be put in its place. The guide will show the children how one whole is equal to two halves. This will be repeated with similar equivalencies: 3/3=1, 4/4=1, etc.

Next, smaller equivalencies will be discovered. The guide will try and fit a piece into a number of different spots, proving where it does and does not fit. Children will learn several simple equivalencies, such as 2/6=1/3 .

As with the previous skill, there is plenty of opportunity for exploration and extension in regard to equivalencies. This is arguably the most important fractions skill of lower elementary.

Operations with Fraction

Once a child has a firm grasp of fraction basics, they are ready to learn operations. This will likely begin in lower elementary and extend into upper elementary, and are taught initially using the fraction insets material. Another material often used is called the fraction box, which includes small plastic replicas of the red circular fraction pieces. Skills include:

  • Addition and subtraction using the same denominator

  • Multiplying fractions by whole numbers

  • Dividing fractions by whole numbers

  • Addition with different denominators

  • Addition with more than two addends

  • Subtracting with different denominators

  • Multiplying whole numbers by fractions

  • Multiplying fractions by other fractions

  • Dividing whole numbers by fractions

  • Dividing fractions by fractions

Moving to Abstraction

Use of materials when teaching fractions is critical; we believe Montessori students excel later in life with more complicated math concepts because they have such a strong foundation in the basics. Rather than memorizing rote procedures they are physically manipulating numbers with their hands, giving them a deeper understanding of why we do what we do.

One cannot rely on materials forever, though, and there comes a time when the child is prepared to move onto abstraction.

This is often achieved by the teacher again showing an operation with the material while also writing out the pencil and paper process simultaneously. In fact, children will often come to this learning independently. They are able to make the connections as they master skills. If not, the guide is there to show them the way. There comes a point during the upper elementary years when a child no longer needs to rely on the materials to determine the answer to a problem. In fact, using the materials becomes cumbersome, and they are eager to put them behind.

Want to learn more? We encourage you to reach out and schedule a virtual tour.

Montessori Materials: The Stamp Game

montessori-stamp-game.jpg

This post is the first in a new series we are so excited about. Each month, throughout this school year, we will share information about a different Montessori material. Doing so will help parents who are curious about what goes on in our classrooms, but it will also give unique insight into Montessori principles and how the method was developed in the first place.

Today we talk about the stamp game. A beloved math material that is used by children sometime between their kindergarten and second grade years (depending upon their readiness), it allows young children to add, subtract, multiply, and divide using numbers into the thousands. Using a material such as the stamp game allows children to learn a concept in concrete terms, rather than abstractly (which is what they will be doing when they eventually complete the same types of problems with just pencil and paper).

Think back to when you learned basic math computations: it was very likely done abstractly, and you memorized what must be done when your numbers added up to more than ten in one column, or you needed to borrow some from the next column, and so on. Being taught that way certainly gets the job done, but what we are effectively doing then is teaching children to memorize the process.

Using a material like the stamp game? This allows children to physically manipulate the numbers in a way that provides a deeper and richer understanding of mathematical processes. Instead of feeling tedious and confusing, the stamp game provides a stepping stone that makes them excited to discover the secrets of numbers and operations. Many Montessori children have reported that as they get older and find themselves working on much more complicated math concepts, they still picture the movement of the tiny stamps in their minds. They have a lasting visual image of what the numbers are doing as they work; it’s not just rote memorization.

Please bear in mind that prior to being introduced to this material, the child will have a solid understanding of place value, as well as the basic concept of adding numbers. These skills will have been gained through other Montessori materials that were carefully developed and intended to be used in a specific sequence.

So let’s get down to the important part: how the stamp game is used.

A child or small group of children will be seated on the floor across from their guide. A work mat will have been unrolled, and the guide will stand up, walk across the room, and carefully select the material from the shelf, carrying it carefully to the work mat. Even this small action has purpose: the guide is wordlessly teaching the child where the material can be found and where it is expected to be returned, as well as modeling how it should be carried around the room.

When the box is opened the guide may ask the children what they notice. They may comment on the colors of the wooden tiles: green, blue, and red. They will notice the small numbers printed on each tile: ones (units), tens, hundreds, and thousands. They may even notice little pegs that they will use much later when they use the same material for division.

The first step is to learn how to make numbers using the stamp game. The guide will either have a pre-printed card or perhaps a dry erase board to write a number such as 3,721. They will then demonstrate by taking one green unit stamp out of the box and lining it up neatly on the rug in front of the compartment it came from. This will be followed by two blue tens tiles, seven red hundreds tiles, and three green thousands tiles. (The color pattern begins to repeat because much later, using a different material with the same colors, the child will learn about number series and why we separate larger numbers with commas. The idea is being introduced indirectly long before it is expressively taught.)

Children will then take turns making numbers. If the concept takes some effort, this may be their work and their practice for several days or weeks. If they seem ready for more, the guide will move on to the next step.

An addition problem will be presented. The children will learn the terms addend and sum, and will make each addend, separated by a space or perhaps a pencil, on the work mat. The guide will then slide the bottom of each column of tiles upward, creating a single line for each place, as illustrated in the photo above. Starting at the bottom of the units, the tiles will be carefully counted and recorded in the proper place wherever the problem is written down. This will continue with the tens, hundreds, and thousands.

At first, the problems will have been carefully selected so that there is no need for exchanging. Once the child is ready for more of a challenge, they will learn that if there are ten unit tiles, they will need to be gathered up, deposited back into their compartment, and exchanged for one tens tile. They will learn to say aloud to themselves, “Ten tens is equal to one hundred,” and so on.

The lesson will end, and if the guide feels the children have grasped the concept well enough, they will be expected to use the material regularly and independently (or with a friend) to complete problems. The guide will periodically check in to observe and determine when mastery is achieved.

Whenever the child is ready (which could be weeks or even months), they will learn how to use the stamp game for subtraction. Again, the first problems will not involve any exchanging of numbers and will simply be a way to understand the basic process. You can begin to imagine the many steps and complexity of each Montessori material. When subtracting, the child will lay out the minuend, slide down the subtrahend, and find the difference.

Multiplication comes next. Children learn that all multiplication is making the same number a specific amount of times. They will see its connection to addition, as the process is very similar.

As for division, the guide will introduce tiny wooden cups - one for each place value. Children look at the dividend and put the correct amount of tiles into the cups. They will then use the wooden pegs mentioned earlier (called skittles as they resemble bowling pins), to mark the divisor. Rather than lining the tiles up beneath the compartments, they now learn to line them up beneath the skittles. They learn that division is about being fair, and that it is the only operation in which we start by using the largest number available rather than starting with the units (ones).

It can take an entire year (or longer) for a child to move through each of the steps described. The guide will keep a close watch on each individual’s progress, and provide them with more challenge as soon as they are ready. When a child has fully exhausted their learning with the stamp game, they are ready to move on to a slightly more abstract math material: the bead frame.

We hope you enjoyed this article. Want to see the stamp game in action? Contact us to learn more.